我的婚禮背板是在『Color dream 綺夢瘋婚頭 婚禮佈置規劃/logo設計/道具出租』租借的時尚白色菱格紋背板
使用心得
此背板跟一般背板不同於是
比較細緻的布景大圖輸出
因為帆布顆粒會比較粗又比較厚重
他們背景後面有加車遮光布
不怕燈光照射看到展架喔
因為提倡綠能環保且又能重複使用。
他的便利性非常的方便,不用擔心背板折到、破掉而婚禮開天窗的窘境~
而且,他的支架非常的輕巧且又方便運送
如果預算沒那麼多的水水們想要自己DIY佈置,
又擔心背板太大車子裝不下,這也可以完全放心
因為這個非常好上手又環保,
拍照起來的效果真的非常好
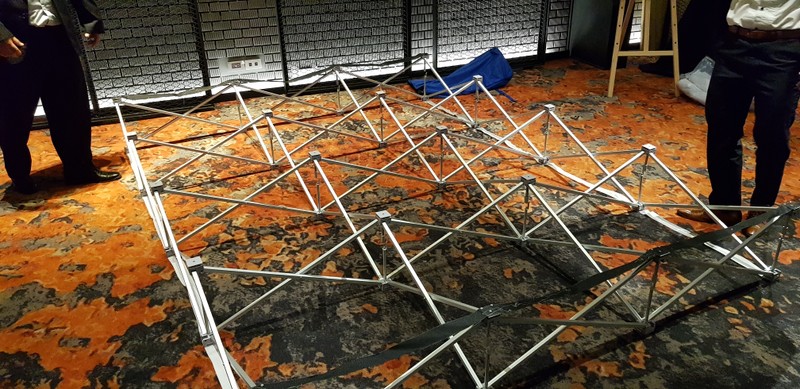
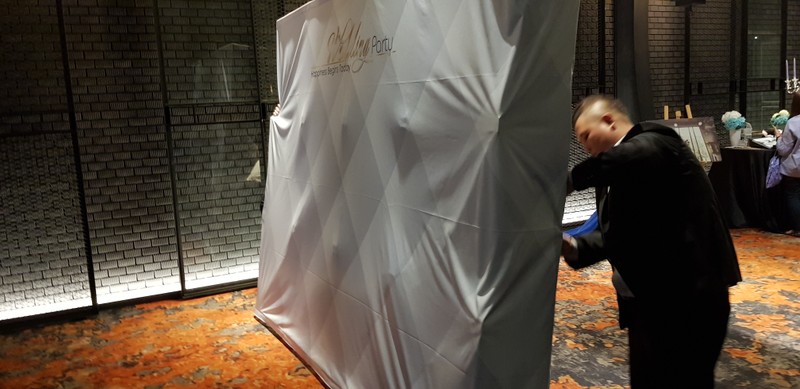
讓我們來看如何組裝背板
首先先把原本和再一起的支架分開
支架上還很貼心的備註支架與布景的位置
很容易一看就懂
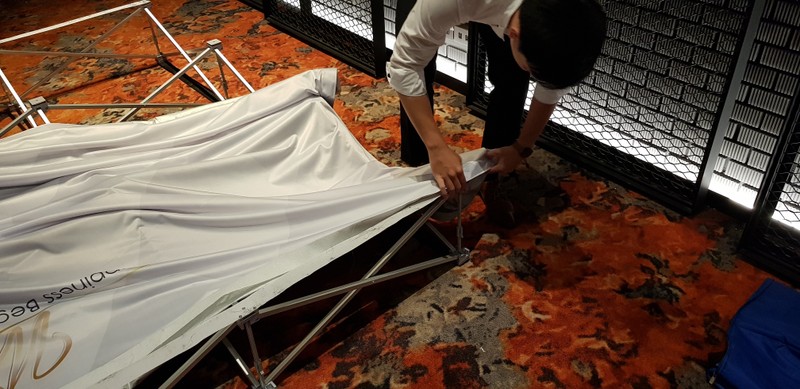
接著在把布景攤開來
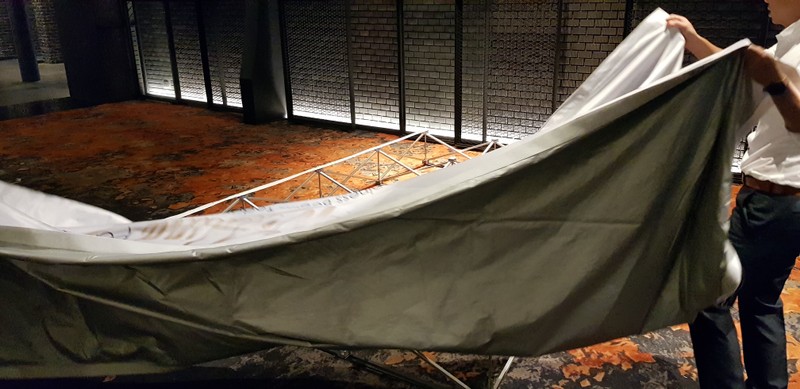
照著指示黏好
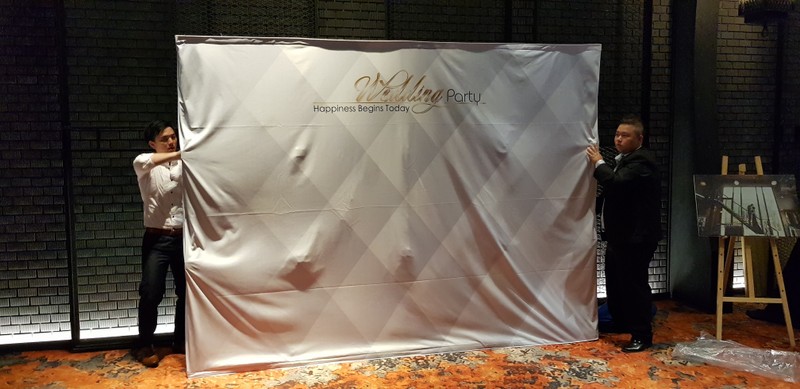
攤開來之後,背板整個氣勢都出來了啊~~~(哈哈
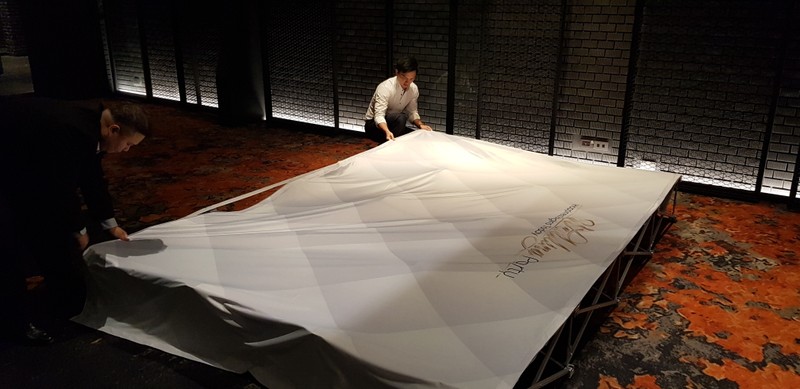
在最後的微調整

妳們看,超級方便
不過,要提醒水水們
記得要確認好布景是否有拉平整唷~~
以下是我們拍出來的效果
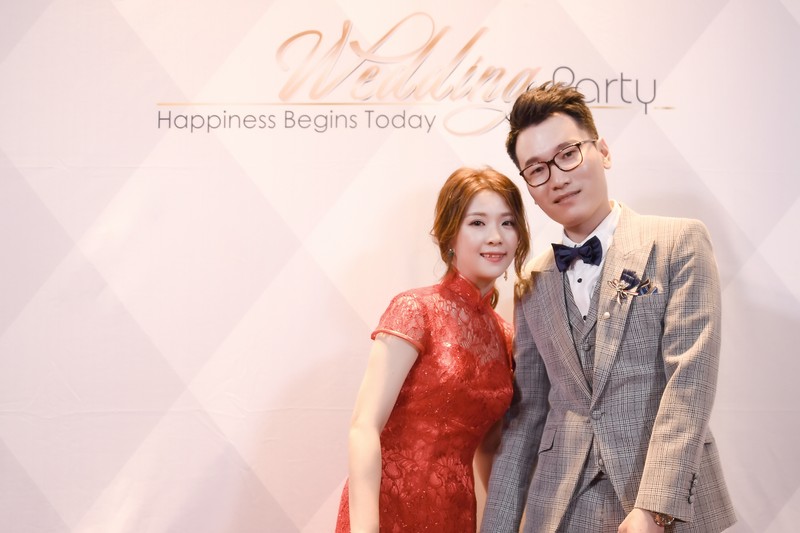
(不好意思要獻上我們的醜照)呵呵
完全看不出來是布景的材質呀!!~~~~~